Installing dependencies on Windows version 10
This guide leads throgh the installation of all prerequisites of MadFast on Windows 10. For other versions of Windows similar steps need to be taken. We recommend to use 64-bit version of Windows. When using 32-bit Windows the -x86 versions of the downloads should be used instead of the -x64 / -x86_64 versions mentioned in this guide.
Note that the exact version numbers (Java, CygWin and its components, MadFast), web page looks and the contents of the termminal windows shown on the screenshots might differ.
Install Java
-
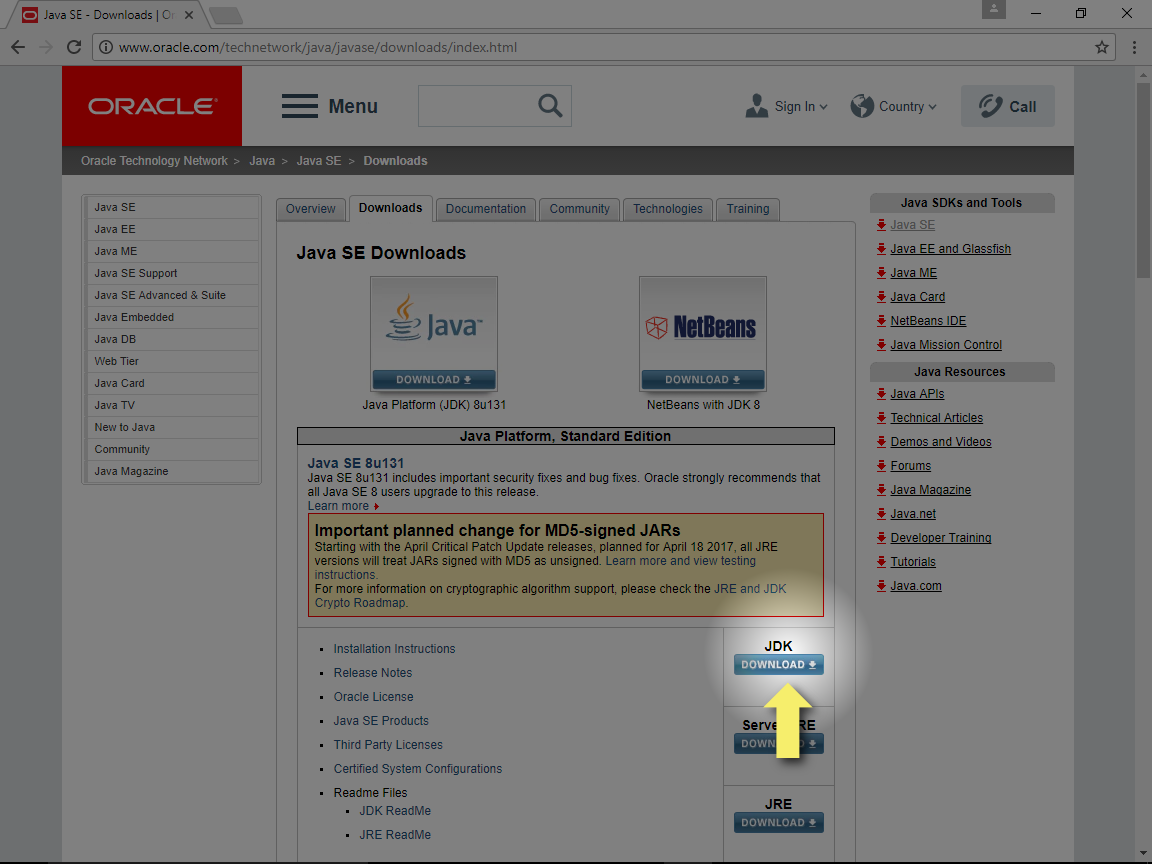
Go to https://www.oracle.com/technetwork/java/javase/downloads/index.html
-
Click "Download" button of "JDK" field (recommended)
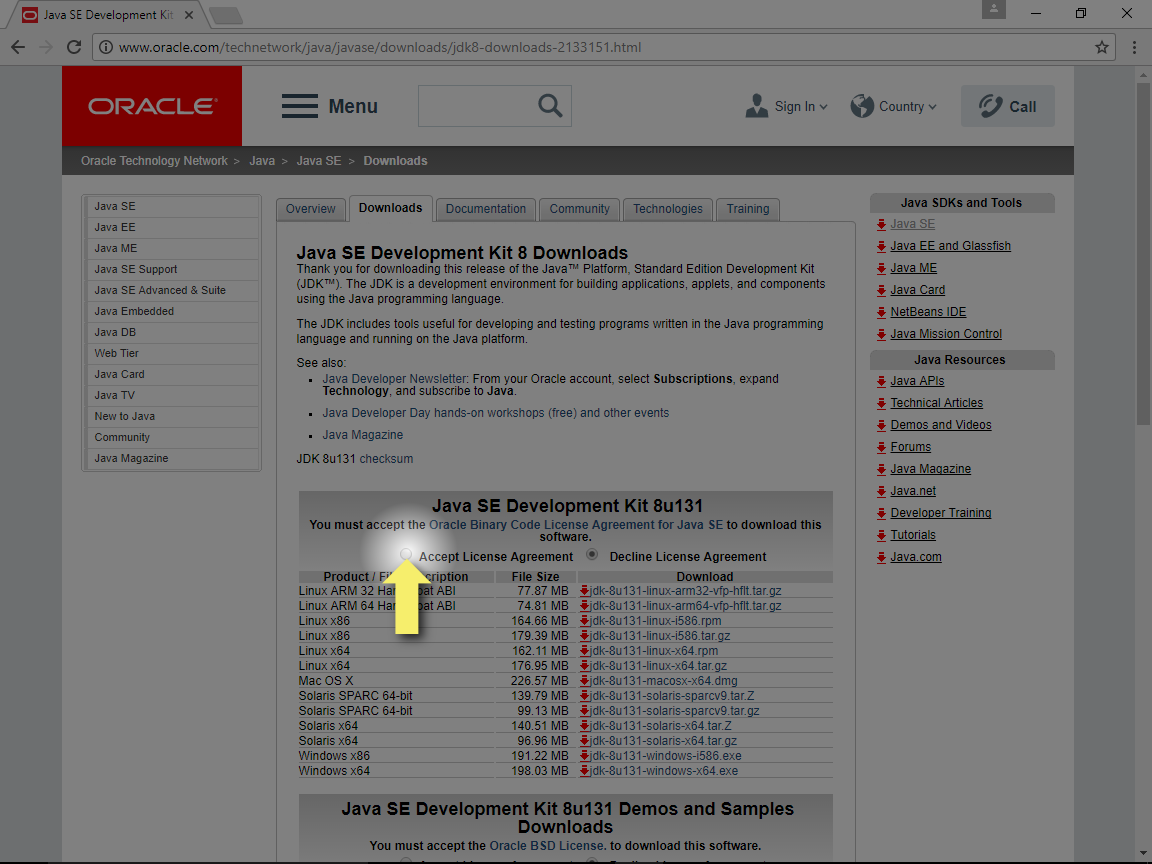
- Click "Accept License Agreement"
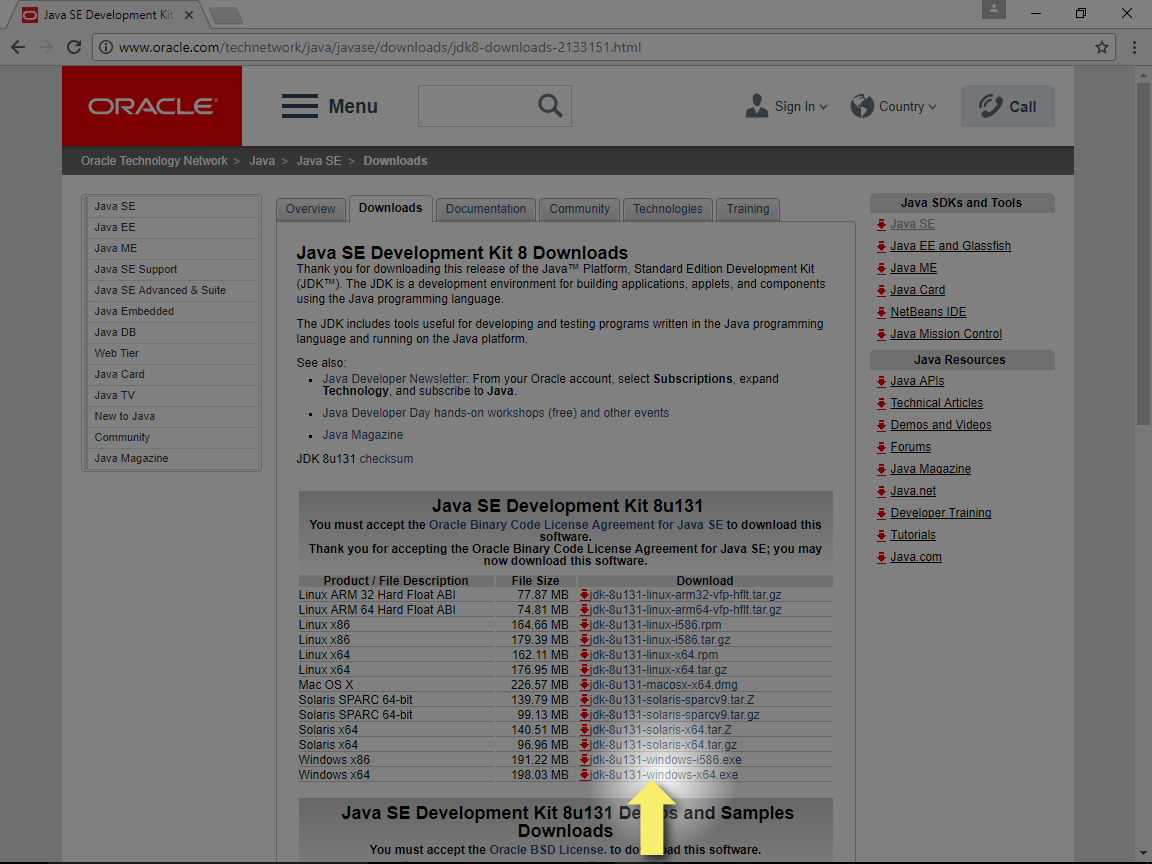
- Select the Donwload link for the
Windows x64version
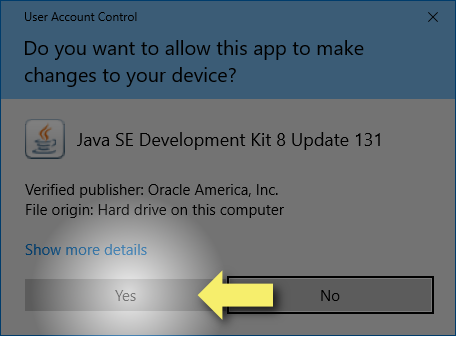
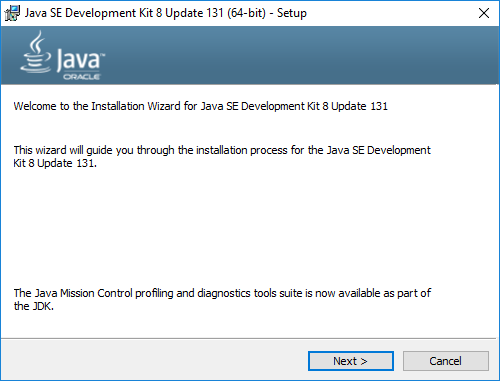
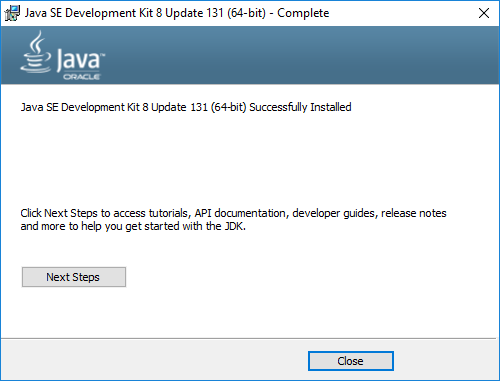
- When download completed launch the installer and go through the Java Setup with the default settings
Install CygWin
Summary
CygWin is installed with the default settings with the exception of the following steps which will need additional user input:
-
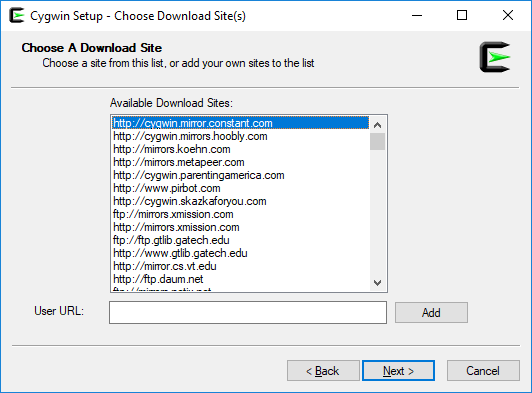
Mirror site selection: Select an appropriate CygWin mirror site during installation. List of mirror sites is available at https://cygwin.com/mirrors.html.
-
Package selection: The following additional packages need to be selected:
wget,git,mc,curl,zip,python2. -
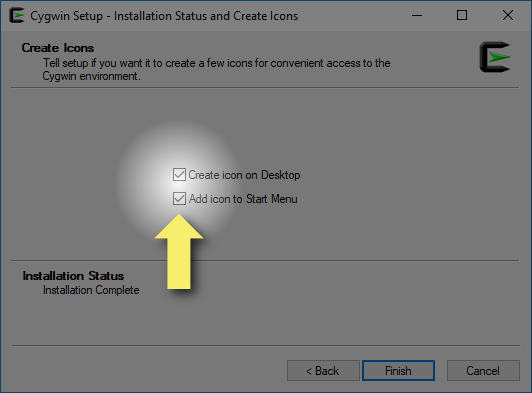
Create icons: it is recommended to select "Create incon on Desktop" and "Add icon to Start Menu" at the end of the installation.
Details
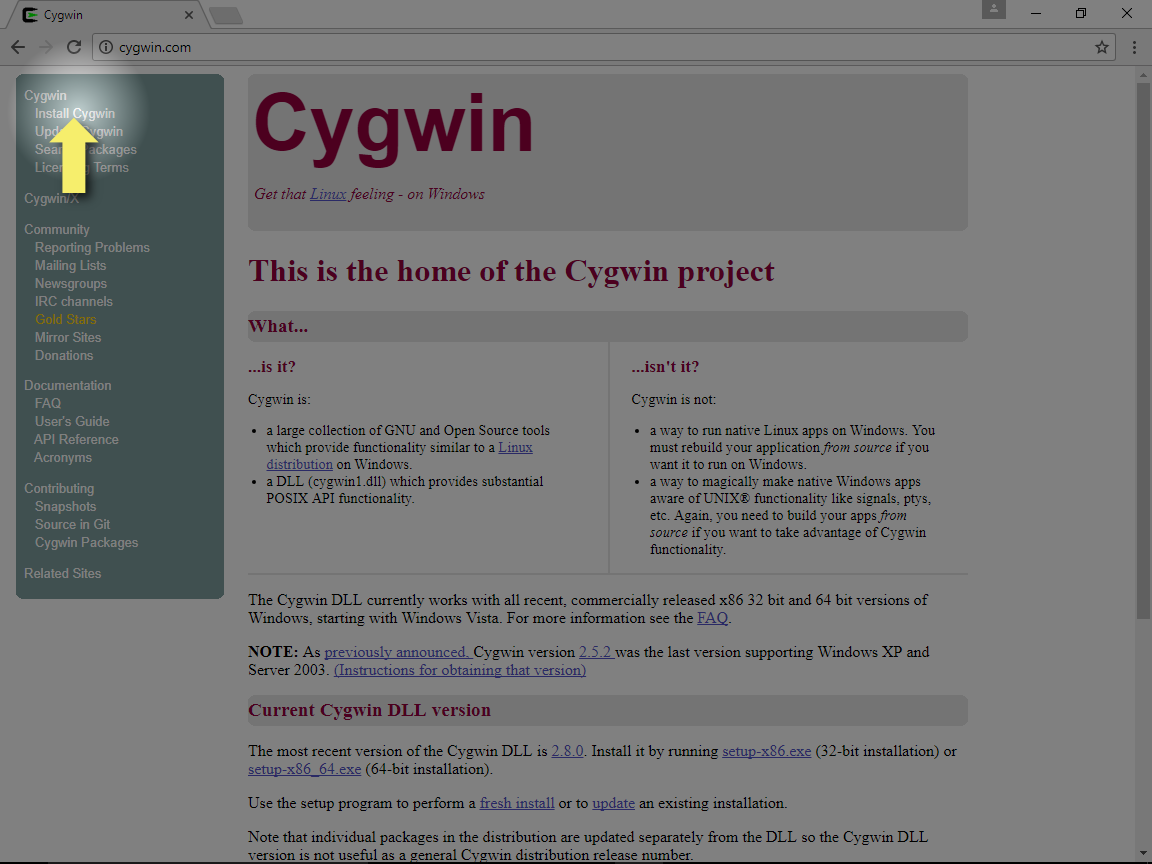
- Go to https://cygwin.com and follow link "Install CygWin"
- Download and run
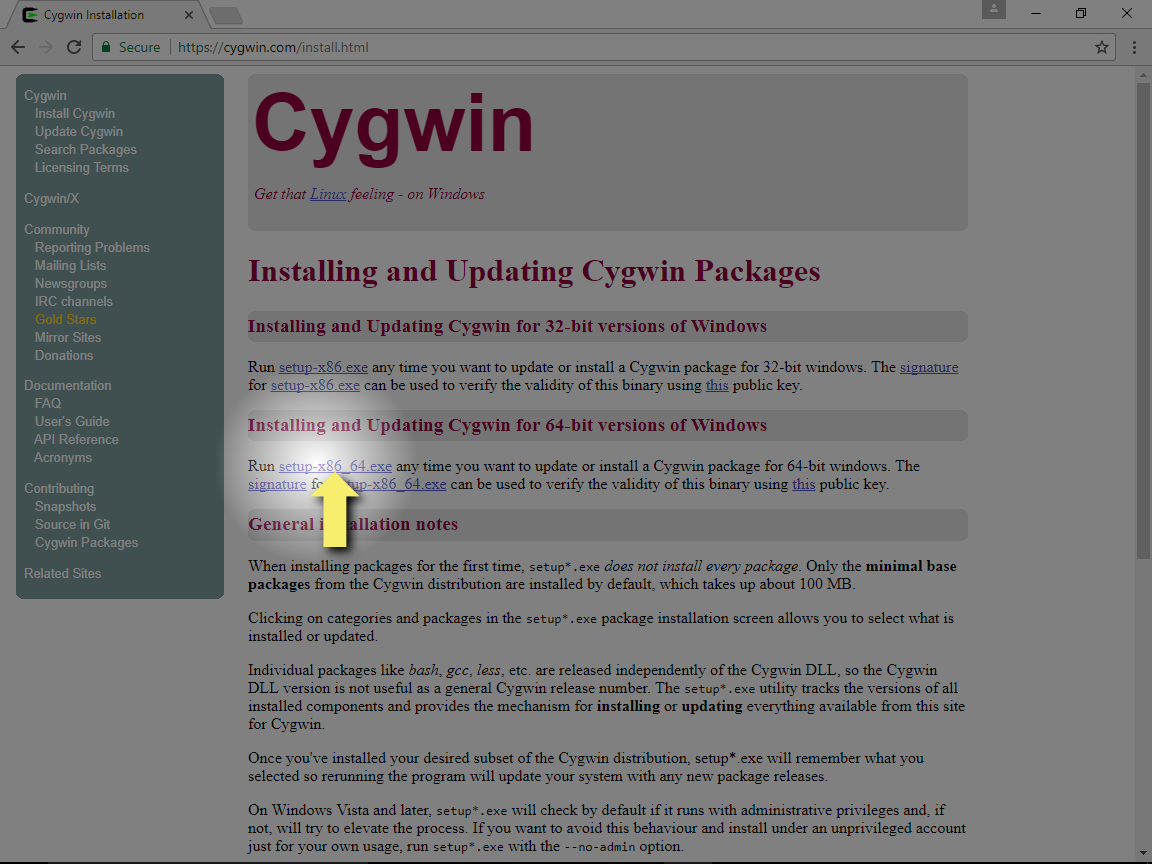
setup-x86_64.exeon 64-bit versions of Windows (recommended) orsetup-x86.exeon 32-bit versions of Windows.
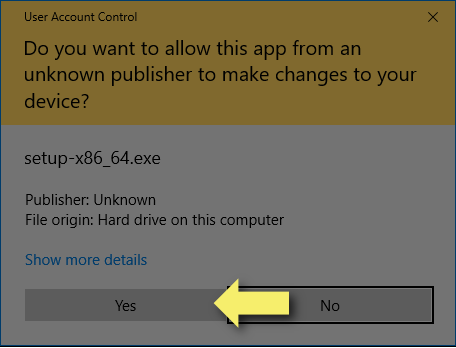
- When download completed launch the installer. You might need to allow the installer application to to run.
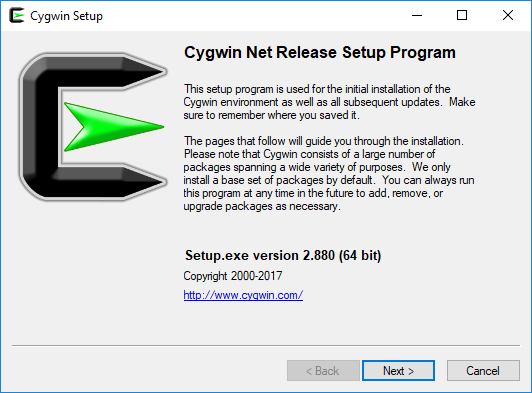
- Select Next to begin installation
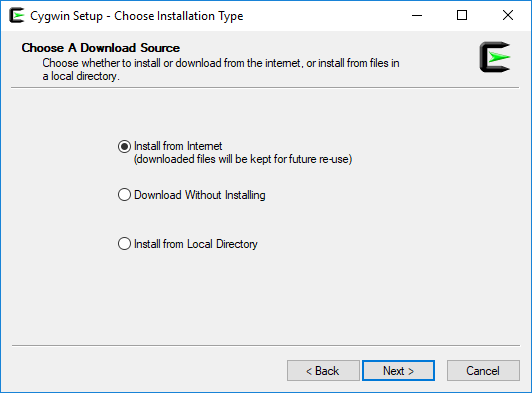
- Select Next to "Install from Internet". The required CygWin packages will be downloaded from the Internet and stored on the computer.
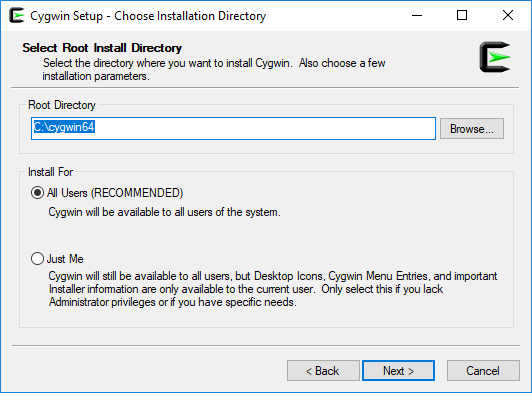
- Select Next to use the default Root install Directory. This directory will be mapped as the root (
/) directory inside CygWin.
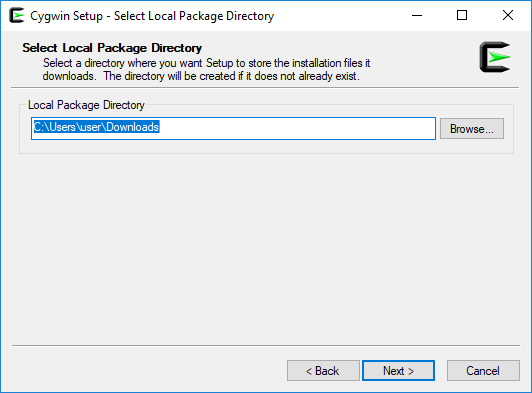
- Select Next to use the default Local Package Directory. This directory will contain the downloaded packages.
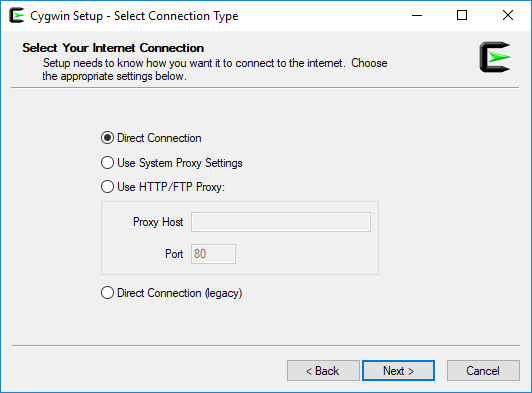
- Select Next to use the default Direct Connection.
- This step needs additional input: Select a Download site then click Next. You can see the list of the available mirror sites at https://cygwin.com/mirrors.html.
-
This step needs additional input: On the Select Packages screen the following packages (from the following categories) are recommended to be selected:
wget(category: "Web")git(category: "Devel")mc(category: "Utils")curl(category: "Net")zip(category: "Archive")python2(category: "Python") See details below on how to select these packages:
-
The package name (for example
wget) can be entered into the "Search" field. This will narrow the package list displayed.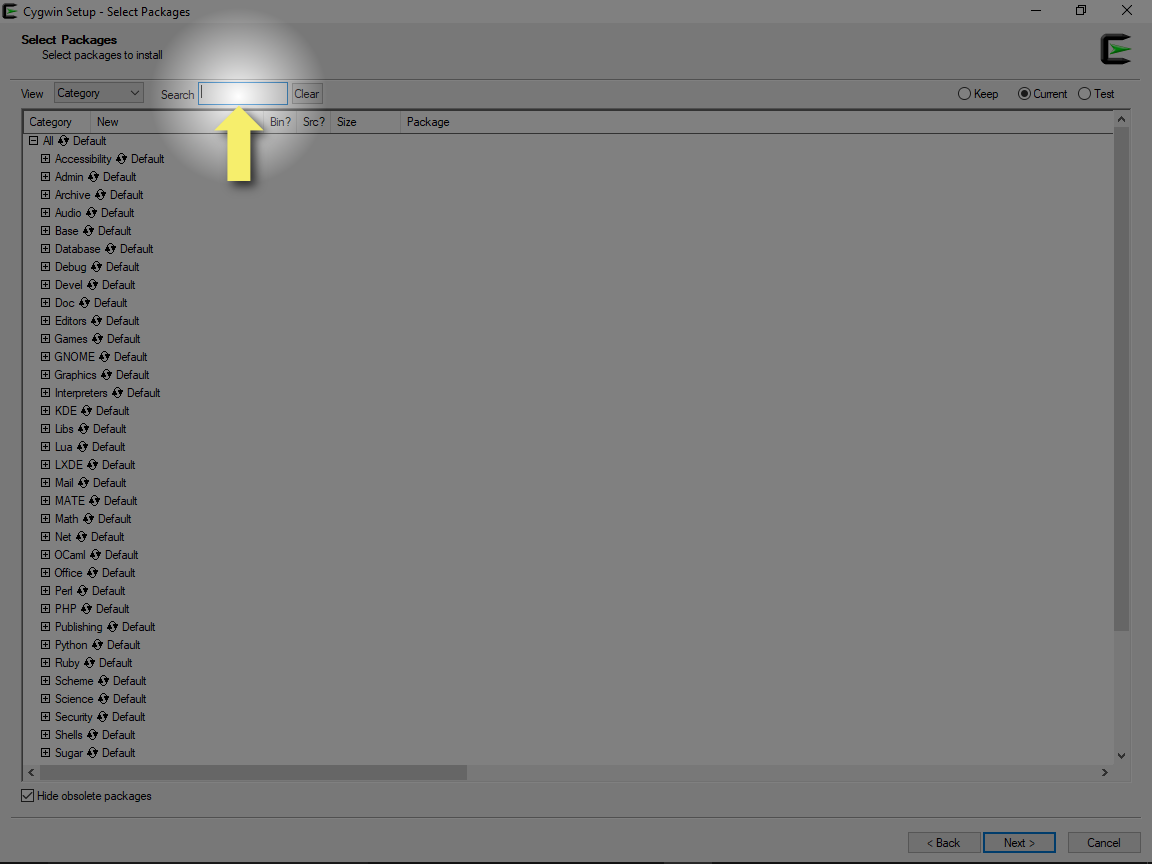
-
The appropriate category group (in this example "Web") can be expanded by clicking on the
+icon next to the category name.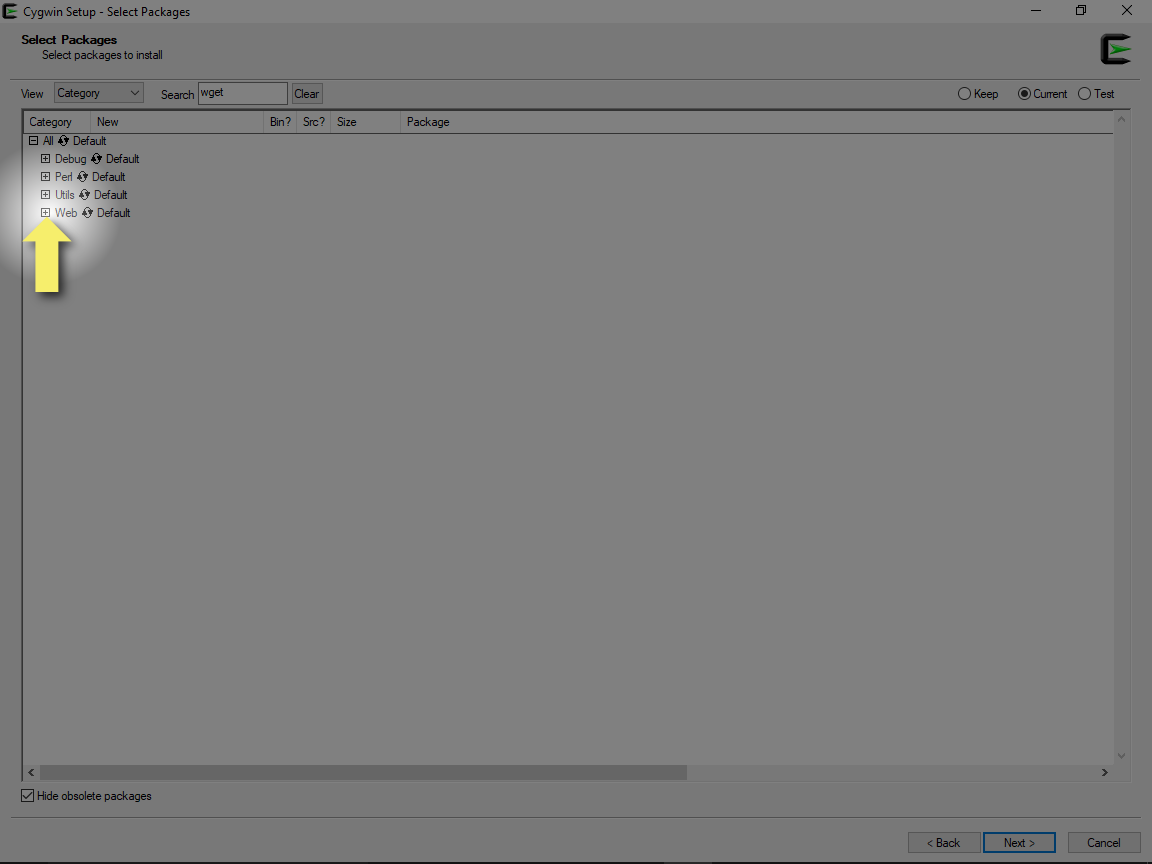
-
Clicking the cycling icon to request the installation of the package. By default this package would not be installed which is indicated by
n/ain the "Bin?" (installation of the package binary) and "Src?" (installation of the package source) columns.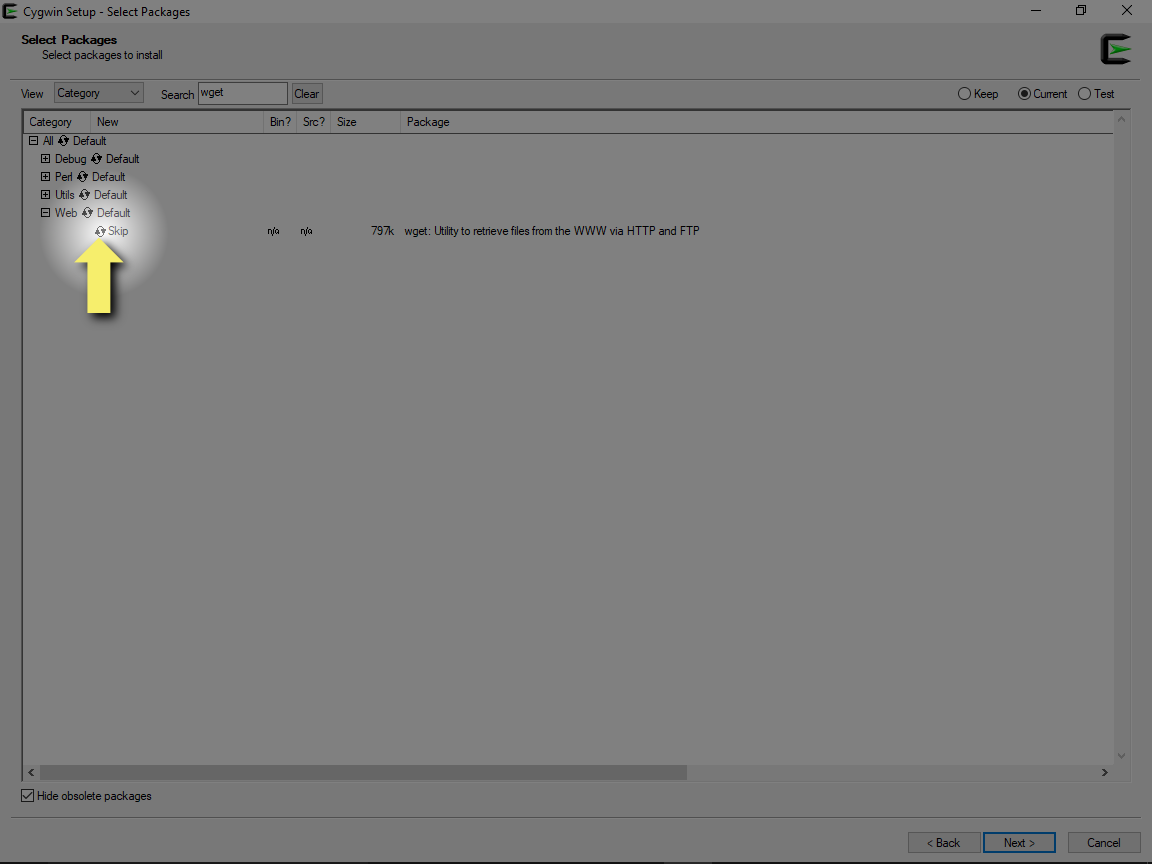
-
After one click on the cycling icon the installation of the binary version of the
wgetpackage requested, as indicated by the checkmark (+) in the "Bin?" column.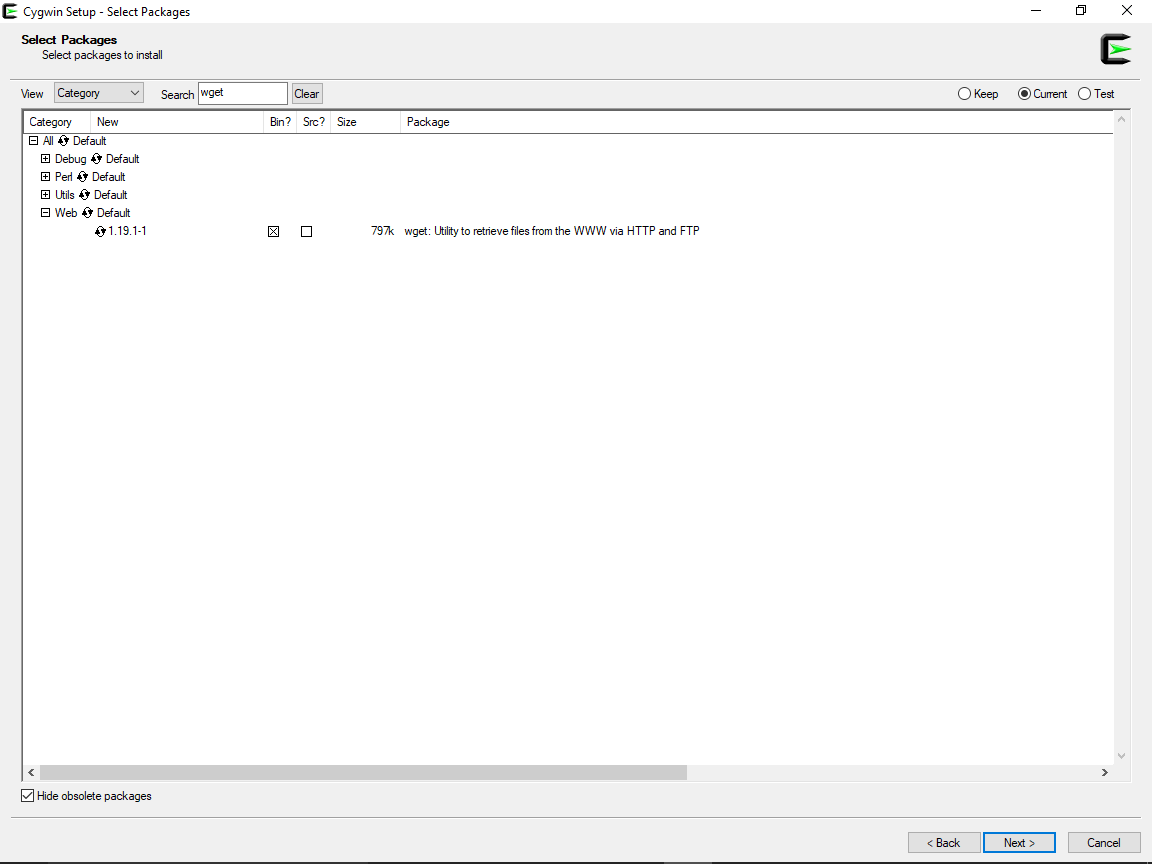
-
Select
git(category: "Devel"),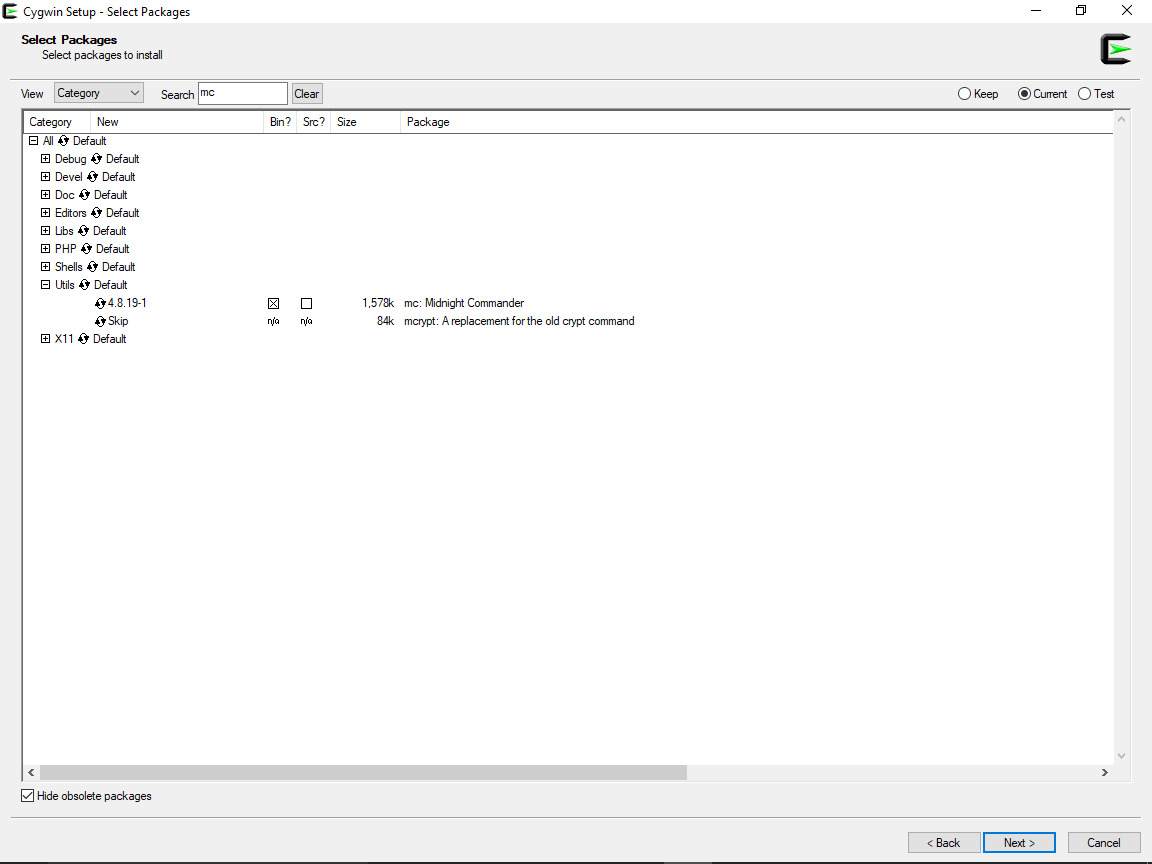
-
mc(category: "Utils"), `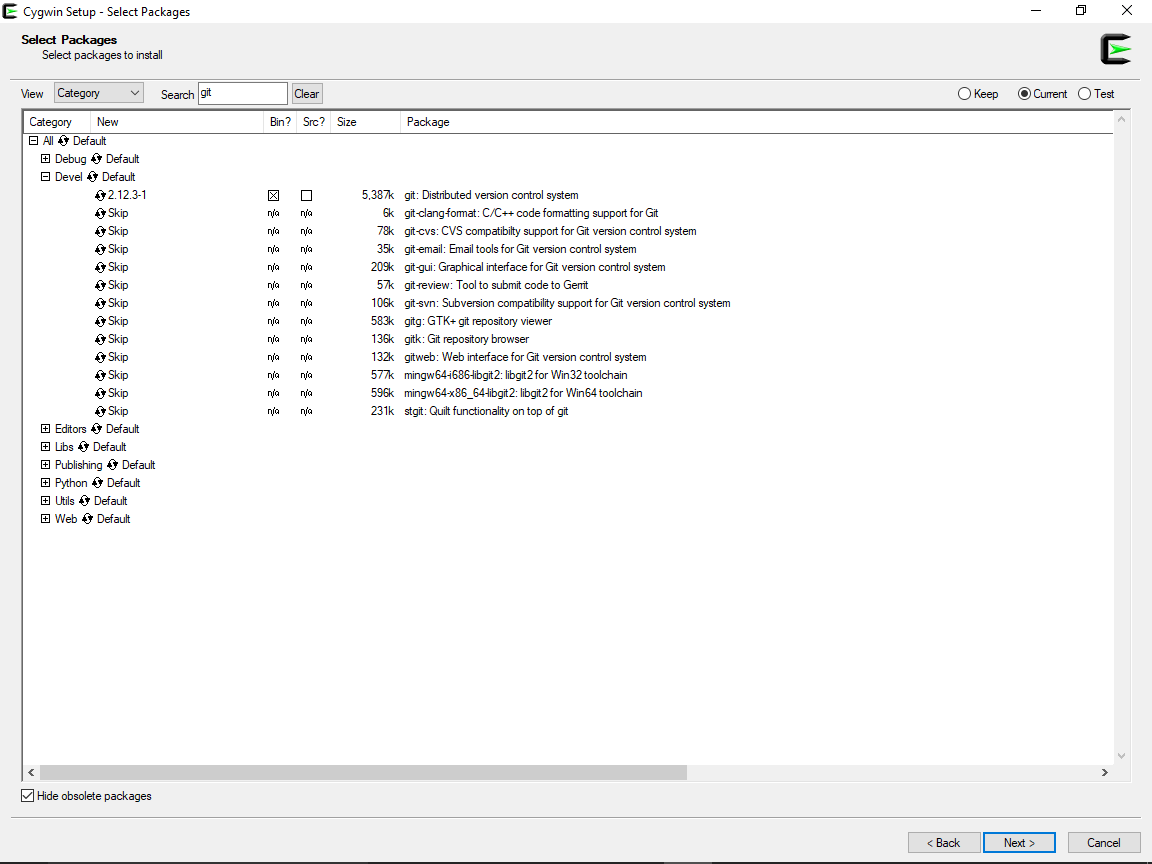
-
curl`(category: "Net"),
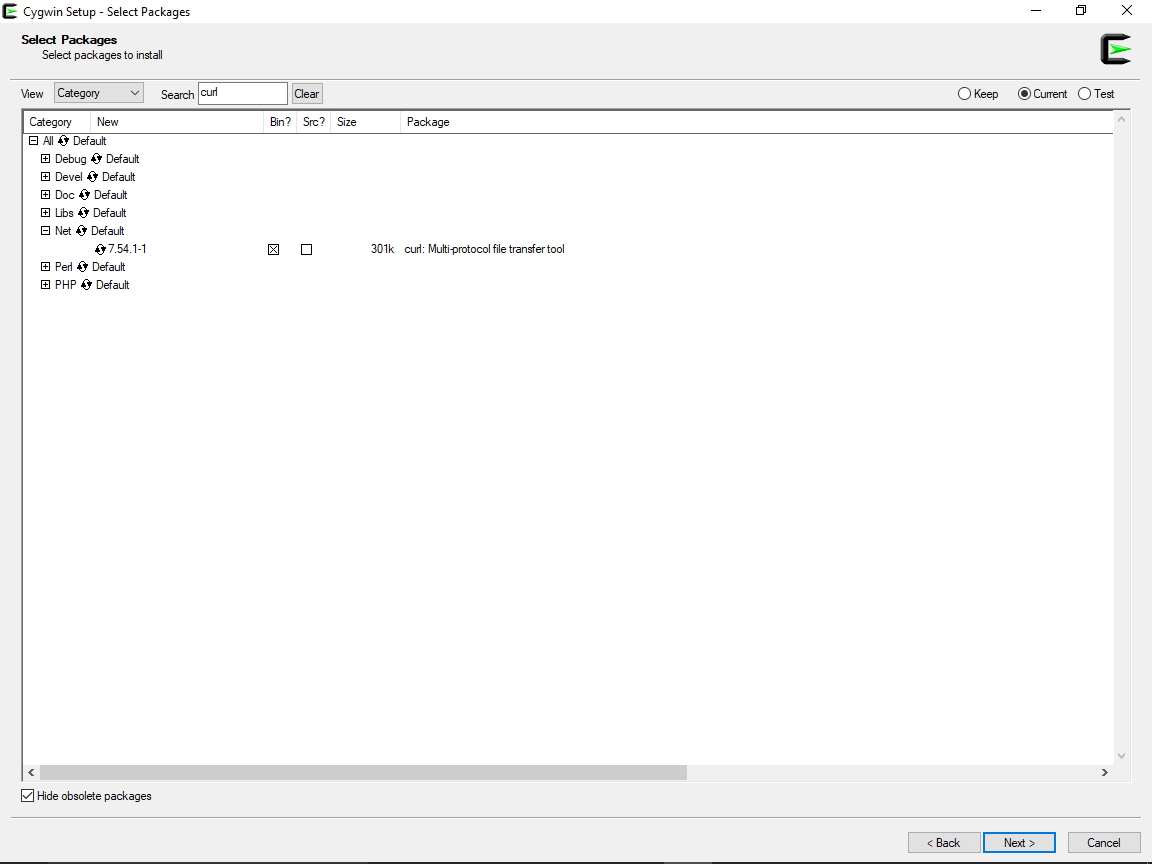
-
zip(category: "Archive") and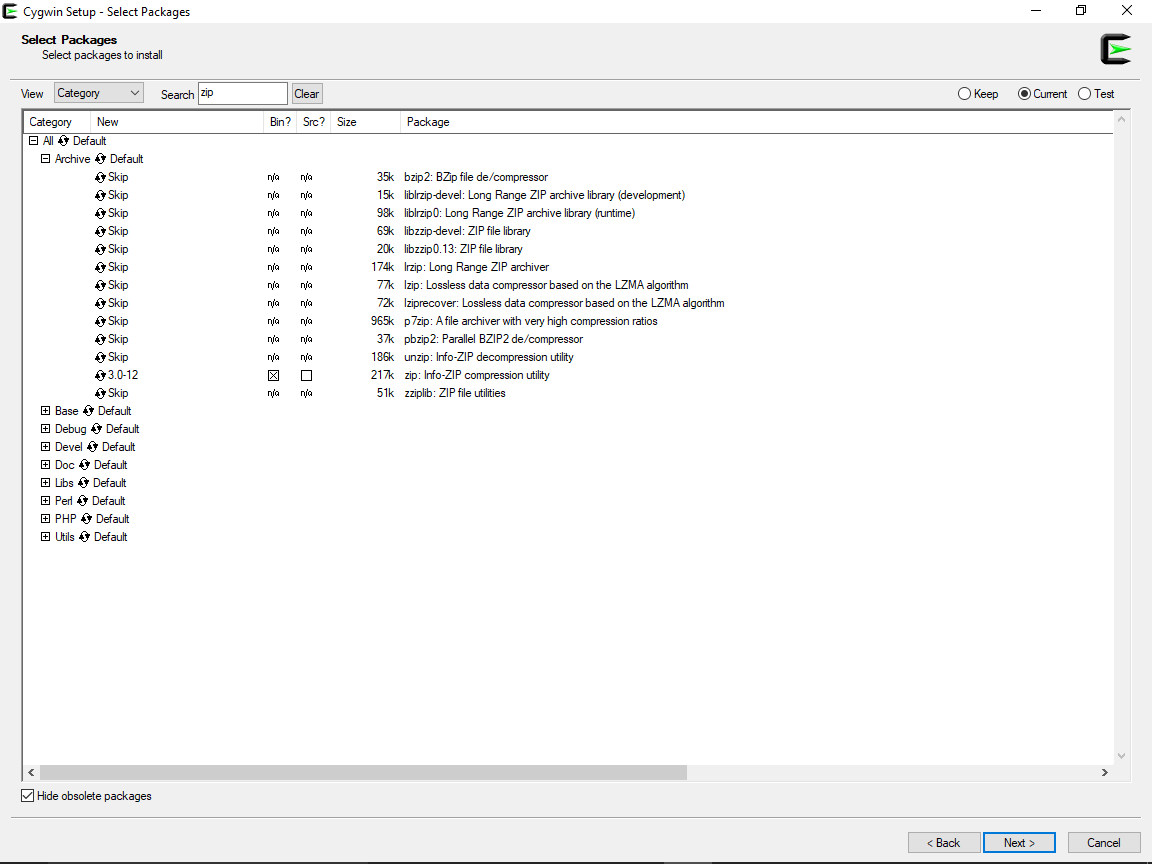
-
python2(category: "Python").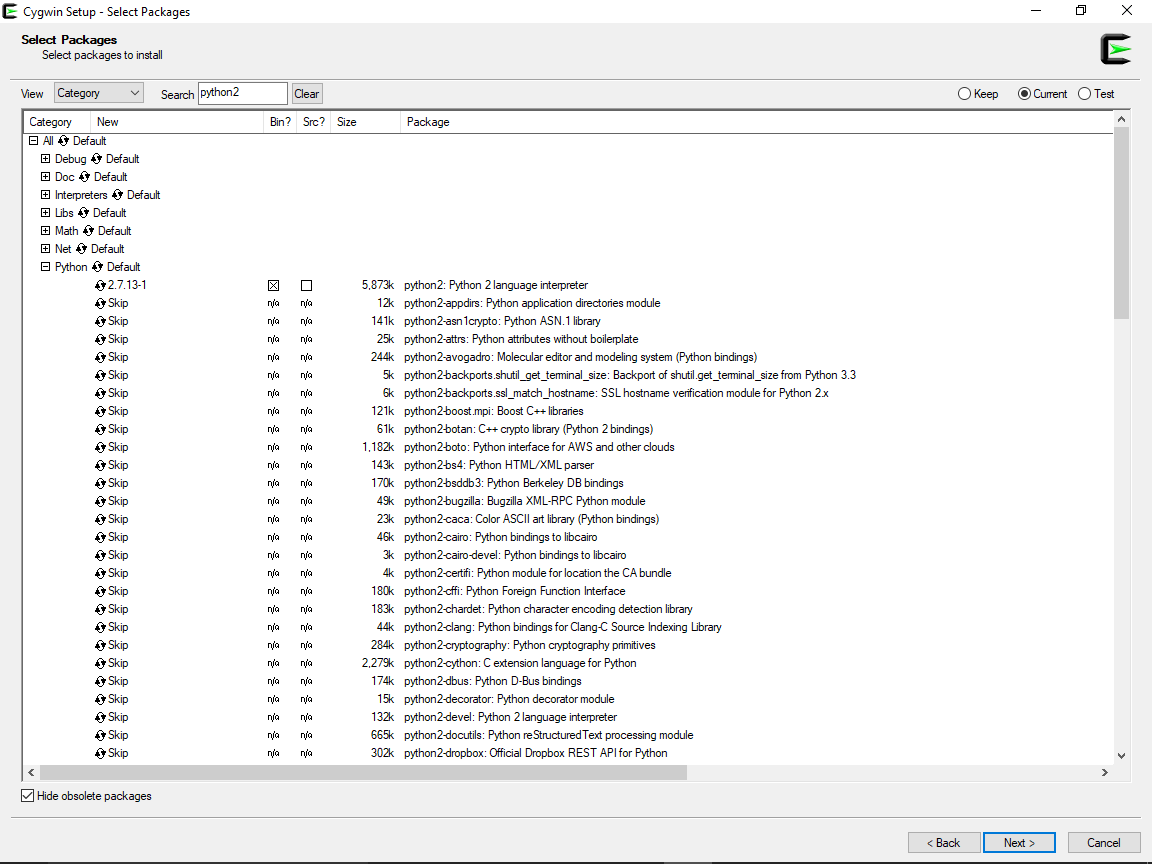
-
After selecting all additional packages to install select Next.
-
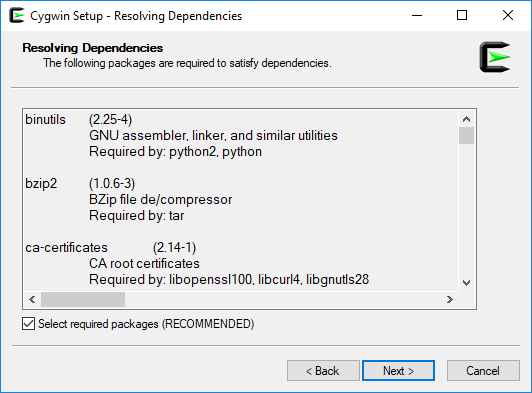
Select Next on Resolving dependencies
-
Installation begins. Downloading and installing CygWin and all packages might take a few minutes.
-
This step needs additional input: Select "Create incon on Desktop" and "Add icon to Start Menu" then select "Finish" to complete installation.
-
After the installation is complete you can launch CygWin Terminal with the launcher icon

Install ChemAxon license
Valid evaluation or production lixenses represented by a ChemAxon license file (license.cxl) is required for using many of the products/functionalities. Document ChemAxon Installing Licenses contains further details. For further questions or to obtain an evaluation or production license feel free to contact us at sales@chemaxon.com or disco-support@chemacon.
To install a license file on Windows:
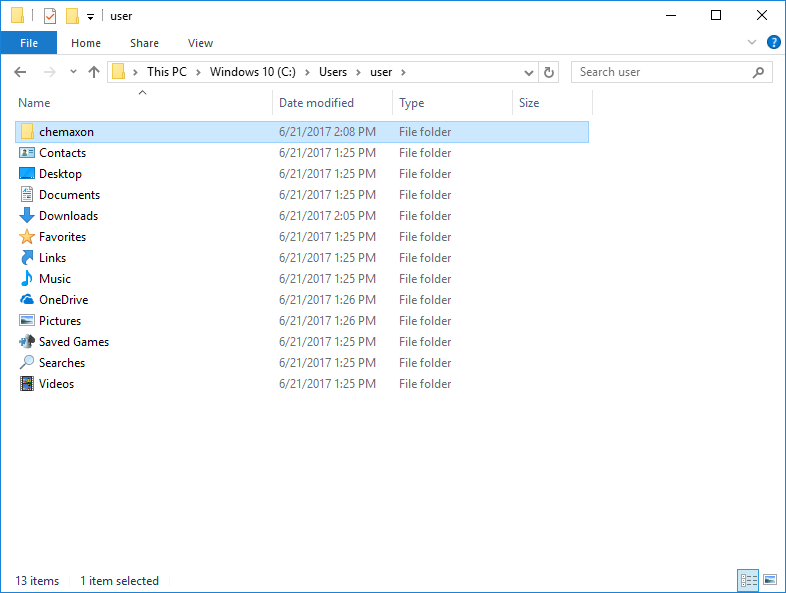
- Open the user home directory (
C:\Users\<USERNAME>) and create directory "chemaxon"
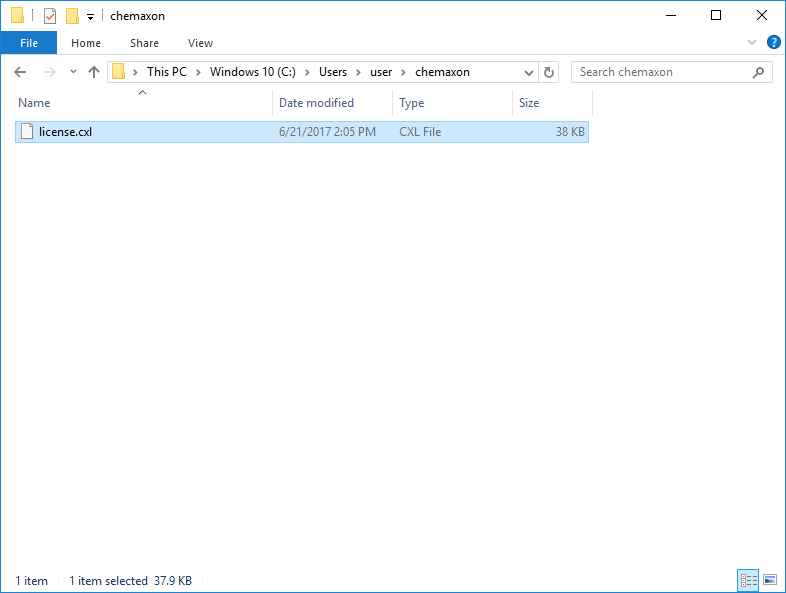
- Copy the received
license.cxlfile into this new directory
Download and install MadFast
- Download
madfast-clidistribution.tarfile from ChemAxon homepage
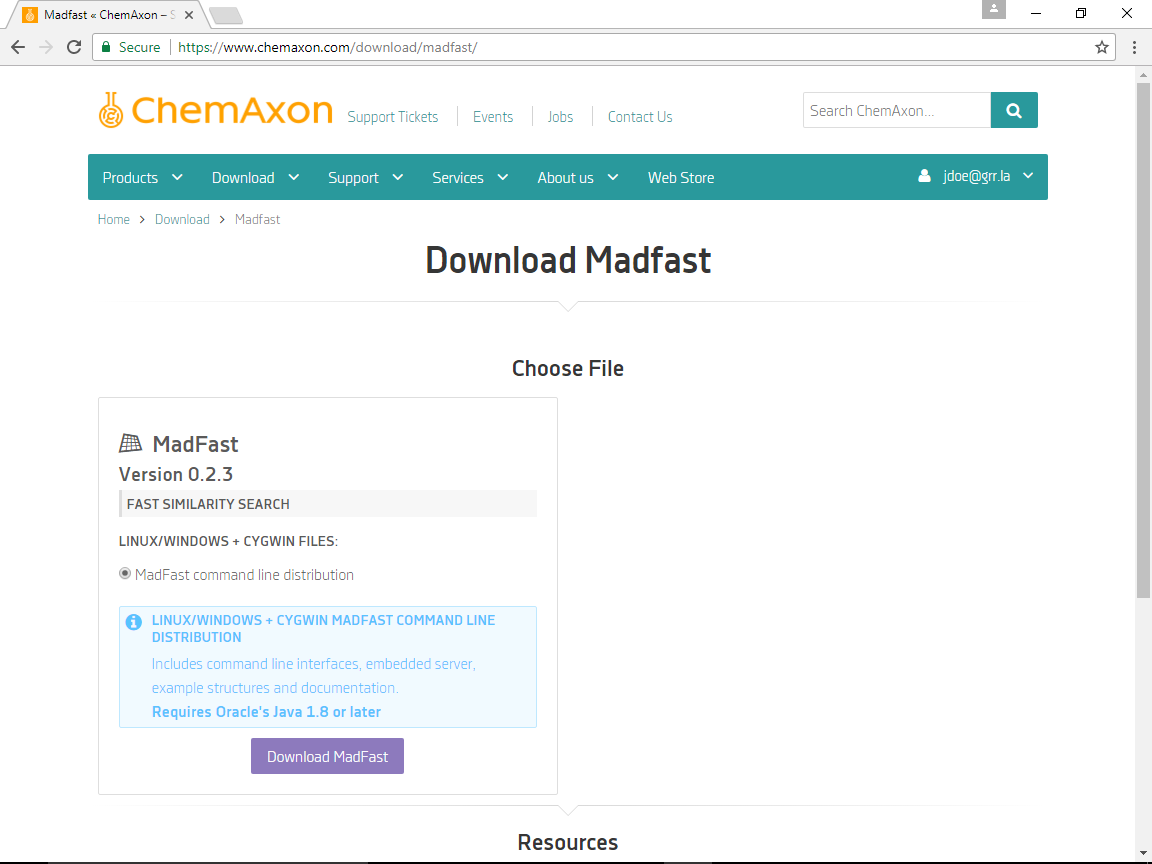
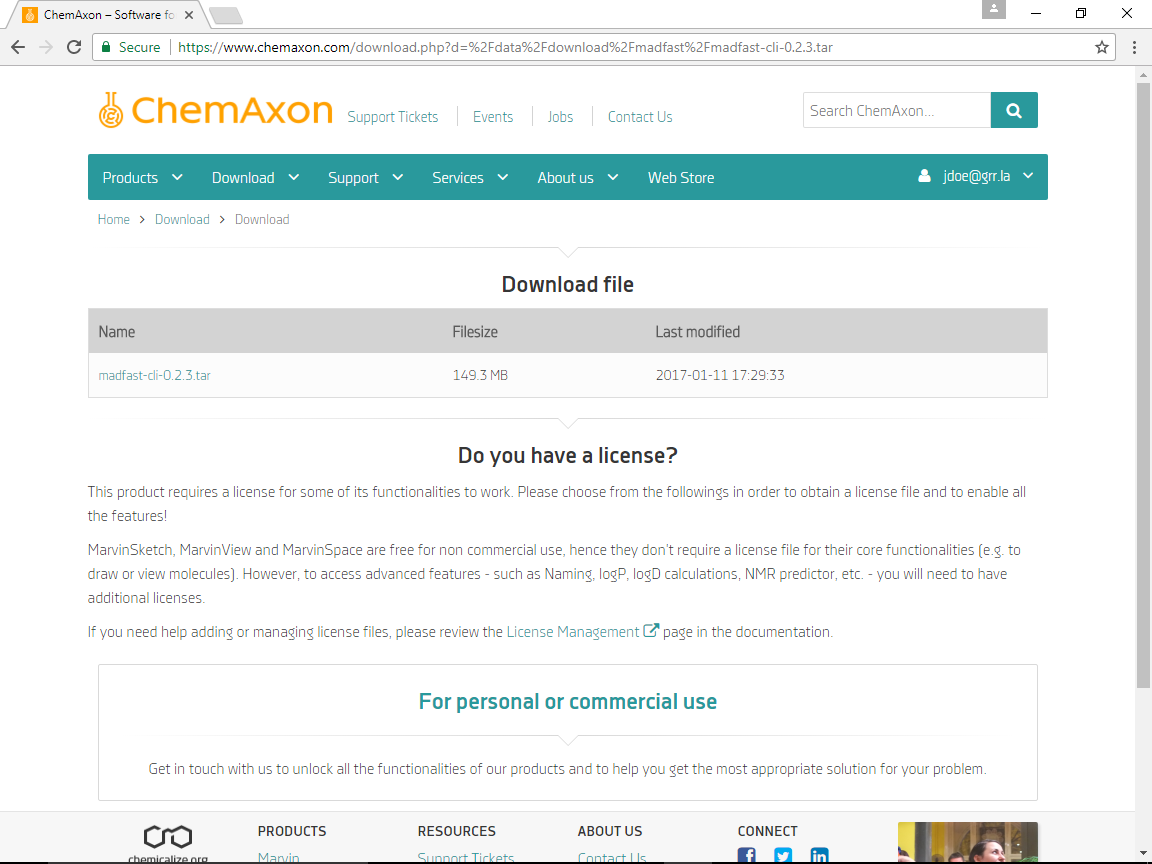
-
Open CygWin terminal with the launcher icon or from the Start menu
-
Move the downloaded MadFast distribution
.tarfile into the CygWin home directory. Note that theC:\Windows drive is mapped into/cygdrive/cinside the CygWin terminal. For example when the default "Download" directory (which isc:\Users\<USERNAME>\Downloads) is used and the user name isuserinvoke commandmv /cygdrive/c/Users/user/Downloads/madfast-cli-0.3.5.tar .
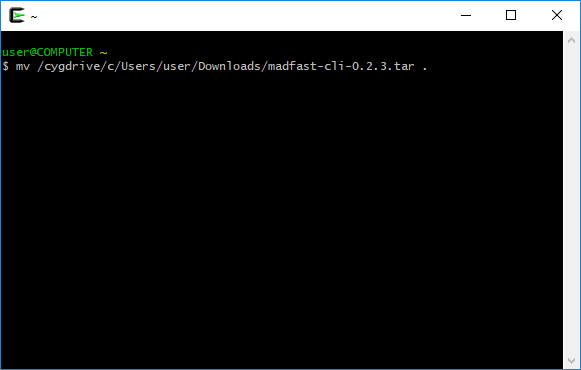
Alternatively you can move the distribution .tar file into the CygWin home directory (found in C:\cygwing64\<USERNAME> on the Windows file system) using Windows tools.
You can use TAB to expand commands/pathes: start type mv /cy and press TAB. When only one path matches it will be completed (to mv /cygdrive/). In case of multiple matches no completion is done but after a repeatedTABpress
all the matching pathes/commands are printed. ThisTABexpansion behavior differs from Windows command prompt
(whereTAB` cycles through matches). Note that commands, pathes and file names are case sensitive inside the CygWin terminal.
-
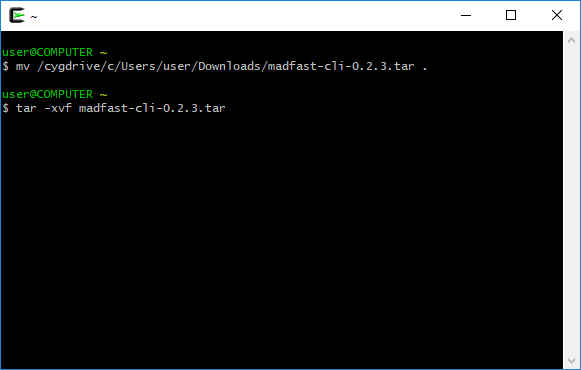
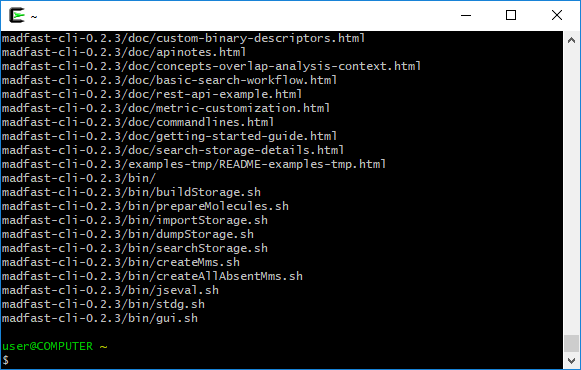
Unpack distribution with command
tar -xvf madfast-cli-0.3.5.tar
Run MadFast self contained example
-
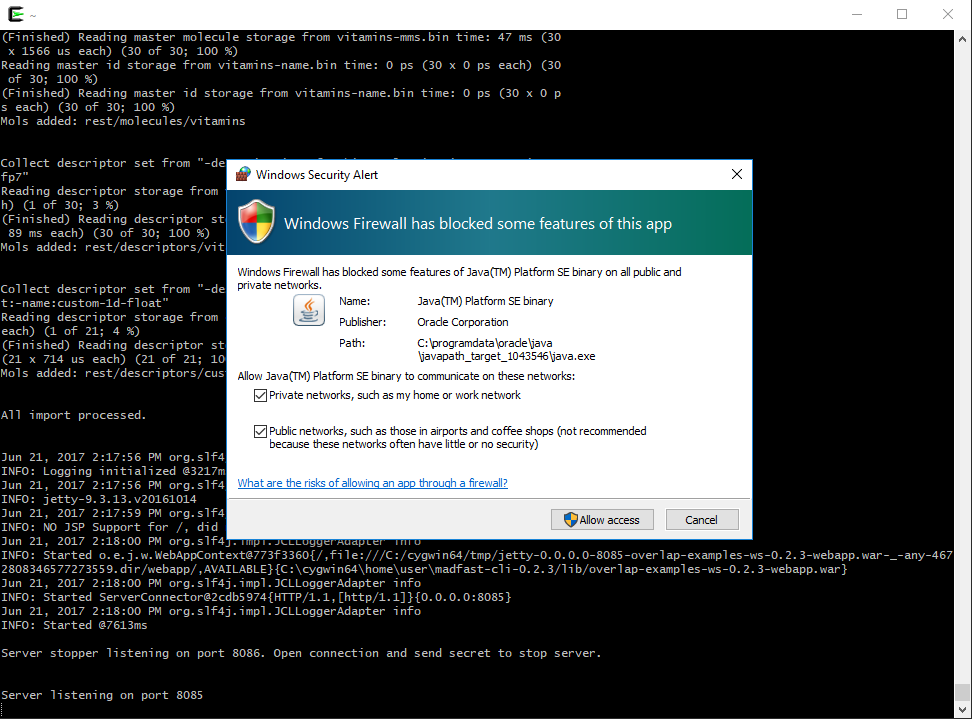
It is recommended to enlarge (resize) terminal window. Invoke self contained example script:
After a successfull launch Windows might ask for unblock firewall, click "Allow access"./madfast-cli-0.3.5/examples/rest-api-example.sh
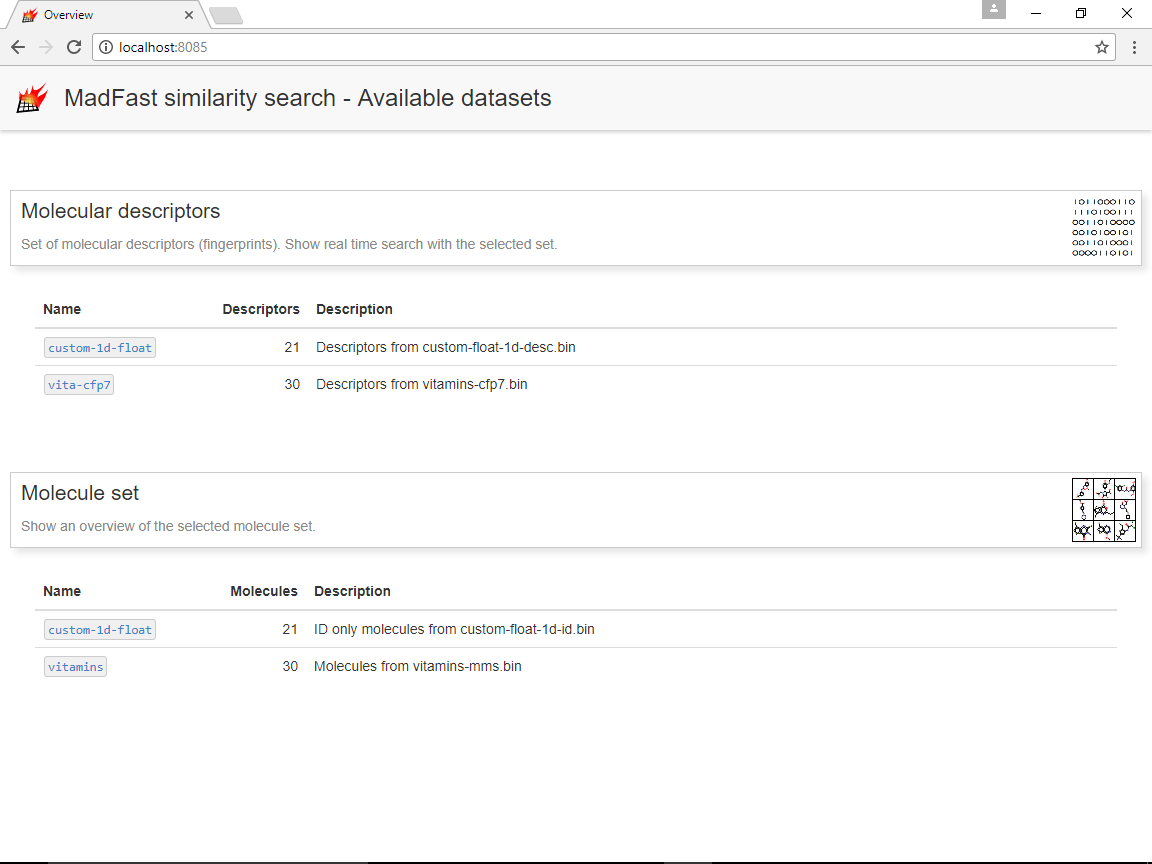
- Open http://localhost:8085 in a browser to connect to the MadFast embedded server.
Next steps
See the Getting started guide for further examples.
